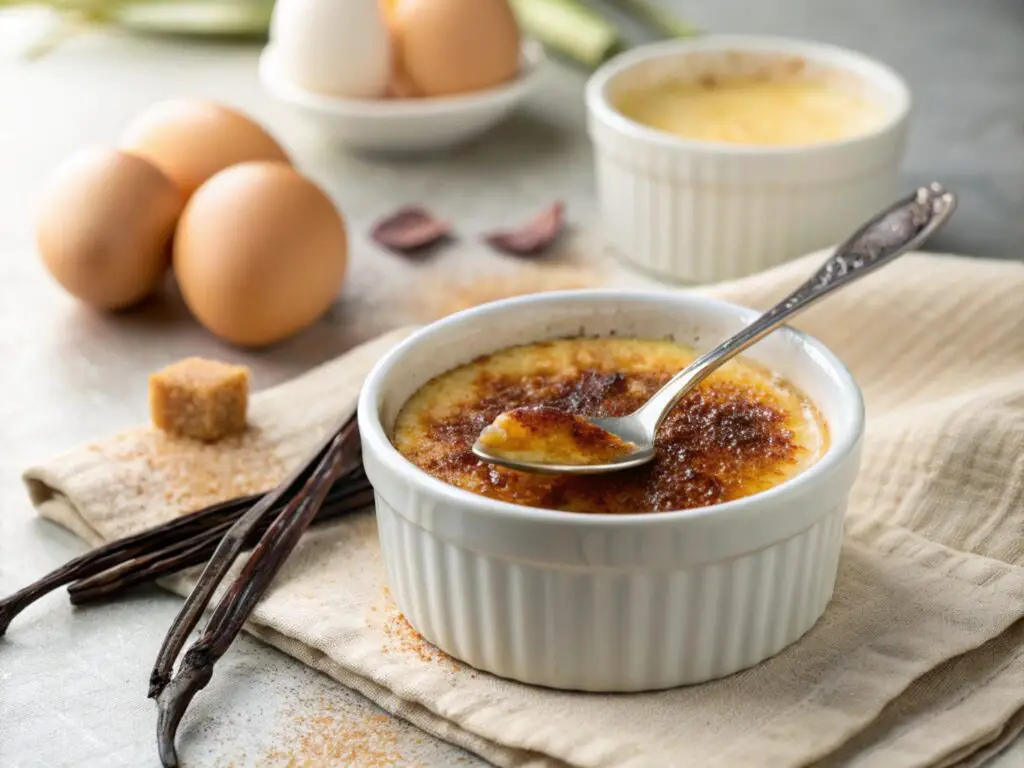
Crème brûlée — the name alone evokes elegance, luxury, and indulgence. This classic French dessert, with its rich custard base and crisp, caramelized sugar crust, has been a hallmark of fine dining for centuries. But what makes it so special? More importantly, what’s the Secret to Crème Brûlée to mastering it at home? If you’ve ever wondered what the secret to crème brûlée is, this guide will reveal it step-by-step.
While it may seem intimidating, making crème brûlée is easier than it looks. With the right techniques and a bit of patience, anyone can achieve its silky custard and iconic glass-like sugar crust.
In this guide, you’ll learn the essential secrets to success — from selecting quality ingredients to mastering the cooking process. Whether you’re a seasoned baker or a beginner, you’ll be equipped to create restaurant-quality crème brûlée from the comfort of your kitchen.

Table of contents
The Essential Ingredients of Crème Brûlée
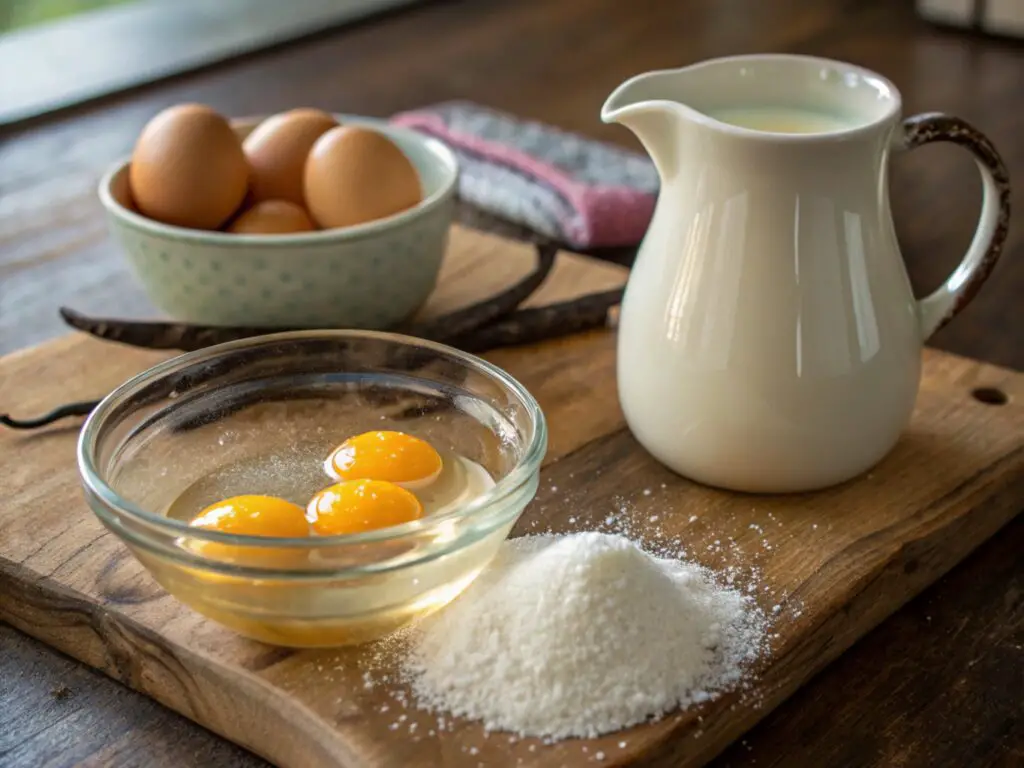
One of the best-kept Secret to Crème Brûlée to making the perfect one is the quality and selection of ingredients. While the ingredient list for this dessert is surprisingly short, every item plays a vital role in the final result. Unlike some recipes where substitutions are easy, crème brûlée relies on the integrity of its ingredients for both texture and taste. Let’s take a closer look at what you’ll need.
1. Heavy Cream
Heavy cream is essential for the rich, silky texture of crème brûlée. Its high fat content (about 36%) creates a smooth, luxurious mouthfeel that milk or half-and-half can’t match. For best results, use fresh, high-quality cream.
2. Egg Yolks
Egg yolks thicken and stabilize the custard, giving it a velvety texture. Most recipes call for 4-6 yolks. Make sure no egg whites mix in, as this can affect the custard’s smoothness.
3. Granulated Sugar
Sugar sweetens the custard and creates the signature caramelized crust. It’s mixed with egg yolks for the custard and sprinkled on top before caramelizing. Superfine sugar melts more evenly, but granulated sugar works well too.
4. Vanilla
Vanilla is the classic flavor of crème brûlée. While extract works, fresh vanilla beans add deeper aroma and flavor, plus those signature black specks in the custard. Scrape the seeds from the pod for the best taste.
5. Optional Flavor Enhancers
Enhance your crème brûlée with flavors like chocolate, coffee, lavender, or citrus zest for a unique twist. These additions give your dessert a creative, gourmet edge.

Ingredient Variations and Alternatives
If you have dietary restrictions or want to try a healthier option, there are some ingredient alternatives:
- Dairy-Free Option: Swap the heavy cream with coconut cream or almond milk. While coconut cream provides a similar richness, it will impart a coconut flavor to the custard.
- Sugar-Free Option: Use a sugar substitute like erythritol for the custard. However, keep in mind that the caramelized crust may not behave the same with sugar alternatives.
- Egg-Free Option: Vegan crème brûlée can be made using plant-based thickeners like agar-agar, though this requires more precision.
Pro Tip: Always use the freshest, highest-quality ingredients possible. Since crème brûlée is a simple dessert with only a few key ingredients, freshness directly impacts taste and texture.
The Secret to the Perfect Texture
A perfect crème brûlée has a texture that is silky-smooth, creamy, and rich. It should never be rubbery, grainy, or watery. But how do you achieve this elusive texture? The Secret to Crème Brûlée lies in mastering temperature control. Too much heat or an improper cooking method can cause the custard to overcook or curdle, leaving you with an unpleasant, scrambled-egg-like texture.
Temperature Control is Everything
- Cooking the Custard Low and Slow
The custard must be cooked gently and slowly to avoid overcooking the egg yolks. Most recipes recommend baking the custard at a low temperature (around 300°F or 150°C) using a water bath (bain-marie). This ensures even heat distribution and prevents the edges from cooking faster than the center. - Water Bath (Bain-Marie) Method
A water bath involves placing the ramekins of custard in a larger baking dish filled with hot water. The water creates a protective layer of gentle heat around the ramekins, ensuring the custard cooks evenly. Without this method, the edges can overcook while the center remains undercooked. - Cooling Time
Patience is key. After baking, the crème brûlée must cool at room temperature before being refrigerated for at least 4 hours (ideally overnight). This cooling period allows the custard to fully set and develop its smooth, creamy consistency. Skipping this step results in a looser, less stable custard.
Pro Tip: To test if the custard is properly set, gently jiggle the ramekin. The custard should be mostly firm, with only a slight wobble in the center.
Avoiding Common Texture Mistakes
- Overcooked Custard: If your crème brûlée has a rubbery texture, it may have been baked too long or at too high a temperature. To avoid this, always bake at 300°F and use a water bath.
- Grainy Texture: This is often caused by curdling, which happens when the egg yolks cook too quickly. To prevent curdling, ensure the custard base is cooked at a gentle, steady heat.
- Runny Custard: If your custard didn’t set, it may have been undercooked or not chilled long enough. Be sure to bake until the custard is mostly firm, then allow ample time for it to cool in the fridge.
Pro Tip: If you spot tiny bubbles on the surface of your custard before baking, gently tap the ramekin to remove them. Bubbles can cause the surface to crack.
Techniques to Master Crème Brûlée
Now that you know the importance of the ingredients and how to achieve the perfect sugar crust, it’s time to master the step-by-step process of making crème brûlée. This process can be broken down into three key steps:
Step. 1 — Preparing the Custard Base
- Whisk the egg yolks and sugar: In a mixing bowl, whisk the yolks and sugar together until the mixture becomes pale yellow and thickened.
- Heat the cream and vanilla: Warm the heavy cream in a saucepan with vanilla. Do not boil it — you want it hot but not bubbling.
- Temper the eggs: Slowly pour the hot cream into the egg-sugar mixture, whisking constantly. This prevents the eggs from scrambling.
- Strain the mixture: Pour the custard through a fine sieve to remove any lumps or bits of cooked egg.
Step 2 — Baking the Custard
- Pour into ramekins: Divide the custard evenly among ramekins.
- Set up the water bath: Place the ramekins in a large baking dish and fill the dish with hot water until it reaches halfway up the sides of the ramekins.
- Bake slowly: Bake at 300°F (150°C) for 30-40 minutes, or until the center of the custard jiggles slightly when shaken.
Step 3 — Chilling and Caramelizing the Top
- Chill the custard: Remove ramekins from the water bath, let them cool to room temperature, then refrigerate for at least 4 hours (or overnight).
- Sprinkle sugar on top: Right before serving, sprinkle an even layer of sugar on top of each custard.
- Caramelize the sugar: Use a blowtorch or broiler to caramelize the sugar until golden brown and crackly.
Pro Tip: If you plan to serve crème brûlée at a dinner party, prepare the custards the day before and caramelize the tops just before serving.
How to Serve and Present Crème Brûlée
Crème brûlée is as much about presentation as it is about taste. Its golden caramelized crust and silky custard create a beautiful contrast that can be enhanced with thoughtful presentation, garnishes, and serving techniques. Here’s how to make your crème brûlée look as stunning as it tastes.

Presentation Ideas for Visual Appeal
1. Choose the Right Ramekin
Classic white ceramic ramekins offer a clean, elegant look. For a modern twist, try clear glass ramekins or colorful, decorative options. Mini mason jars can add a rustic charm, while unique ramekin shapes (like hearts) are perfect for special occasions.
2. Use a Serving Tray or Plate
Present your ramekins on a stylish plate or serving board. Add a small edible garnish (like a mint leaf or flower) on the side to create a professional look.
3. Add Color and Texture
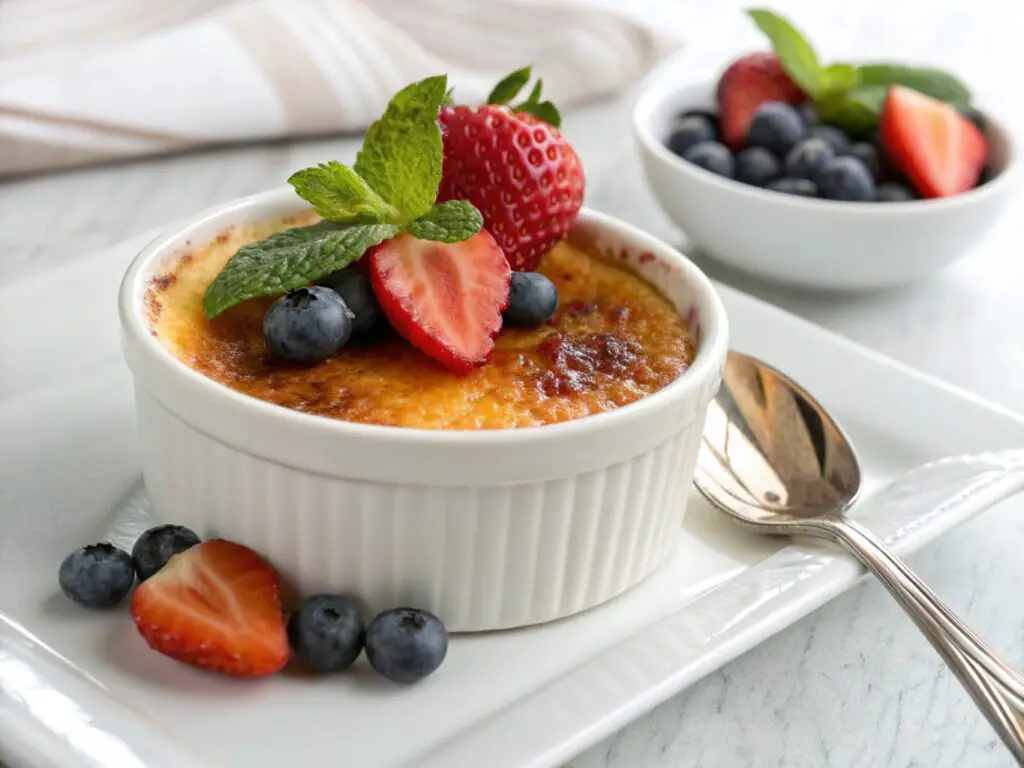
Enhance visual contrast by placing bright berries (like raspberries) on top or a sprig of mint on the side. For a touch of elegance, use edible flowers or even gold leaf for a luxurious finish.
Pro Tip: Keep it simple. Too many toppings can block the signature caramelized crust.
Garnishes that Pair Well (Fruit, Mint, Chocolate, etc.)
While the caramelized crust is iconic on its own, garnishes can add color, flavor, and elegance. Here are some of the best options:
- Fresh Fruits: Raspberries, strawberries, blueberries, and pomegranate seeds add vibrant color and fresh, tart flavor.
- Herbs & Flowers: Mint leaves and edible flowers like lavender or violets create a fresh, fragrant presentation.
- Chocolate & Cocoa: Add chocolate shavings, cocoa powder, or a drizzle of ganache for decadence.
- Syrups & Sauces: Serve with raspberry coulis, caramel drizzle, or fruit compote on the plate.
- Crunchy Elements: Toasted almonds, pistachios, or crispy sugar shards add texture and elegance.
Pro Tip: Match garnishes with the flavor of your crème brûlée. For example, lavender crème brûlée pairs well with blueberries, while citrus-flavored versions are perfect with strawberries.
Ideal Serving Temperature and When to Prepare in Advance
1. Ideal Serving Temperature
Serve crème brûlée chilled with a warm caramelized top. The custard should be cool (around 40°F/4°C) while the sugar crust is warm and crisp.
2. When to Prepare in Advance
Crème brûlée can be made 1-2 days in advance. After baking, chill the custard in the fridge overnight. Caramelize the sugar just before serving to keep the crust fresh and crisp.
3. How to Serve Like a Pro
- Chill Ramekins Before Serving: This keeps the custard cold, even after torching.
- Torch in Front of Guests: For a “wow” factor, caramelize the sugar at the table.
- Serve Immediately: After caramelizing, serve right away so the crust stays crunchy.
Pro Tip: If you don’t have a blowtorch, use the oven broiler, but keep the custard cold by freezing it for 15 minutes before broiling.
FAQ
Here are answers to the most common questions about crème brûlée, covering key differences, tools, and pro tips for success.
1. What makes crème brûlée different from custard?
The main difference is the caramelized sugar crust on top of crème brûlée, which adds a crunchy layer to the creamy custard below. Regular custard is smooth throughout, while crème brûlée offers a satisfying contrast in texture.
Crème brûlée also uses more egg yolks and heavy cream, giving it a richer, silkier texture. Unlike custard, crème brûlée is baked in a water bath and topped with caramelized sugar just before serving.
2. Do I need a blowtorch to make crème brûlée?
No, but a blowtorch makes it easier. It allows for even, controlled caramelization without warming the custard.
Alternatives to a Blowtorch:
- Oven Broiler: Place the ramekins under a broiler for 3-5 minutes, watching closely to avoid burning.
- Heated Spoon: Heat the back of a metal spoon and press it onto the sugar to caramelize it, but this method is less precise.
Pro Tip: If you plan to make crème brûlée often, a small kitchen blowtorch is a worthy investment.
3. How do I prevent my secret crème brûlée from cracking?
Cracks happen due to temperature changes or overcooking. Here’s how to avoid it:
- Don’t Overbake: Remove the custard when it jiggles slightly in the center; it will finish setting as it cools.
- Use a Water Bath: This ensures even, gentle heat distribution.
- Cool Gradually: Let the custard cool at room temperature before refrigerating it.
Pro Tip: If cracks happen, don’t worry — the sugar crust will hide them!
4. Can I make secret crème brûlée ahead of time?
Yes! Crème brûlée can be made 1-2 days in advance. Bake and chill the custard, then caramelize the sugar right before serving.
How to Prepare in Advance:
- Bake and Chill: Cover the ramekins with plastic wrap and refrigerate for up to 2 days.
- Caramelize Before Serving: Add sugar and caramelize with a blowtorch or broiler just before serving.
Pro Tip: Avoid caramelizing in advance, as the crust will soften in the fridge.
Flavor Variations to Try
- Chocolate Crème Brûlée
- Replace part of the heavy cream with melted dark chocolate for a rich, decadent twist.
- Top with a sprinkle of cocoa powder or chocolate shavings after caramelizing the sugar.
- Want to know the secret to super moist chocolate desserts? Check out our guide on the Secret to Super Moist Cake for inspiration.
- Coffee or Espresso Crème Brûlée
- Infuse the cream with fresh espresso or instant coffee for a bold, aromatic flavor.
- Pair it with a sprinkle of cocoa or a chocolate-dipped coffee bean for a café-inspired treat.
- Citrus Crème Brûlée
- Add the zest of lemon, lime, or orange to the custard for a fresh, tangy flavor.
- Pair it with candied citrus peel or fresh fruit on the side for a stunning presentation.
- Lavender or Floral Infused Crème Brûlée
- Infuse the cream with lavender, rose, or jasmine for a fragrant, floral twist.
- Pair it with honey drizzle or edible flowers for an extra touch of elegance.
- Seasonal Favorites
- Pumpkin Spice Crème Brûlée: Add pumpkin puree and spices like cinnamon, nutmeg, and cloves.
- Holiday Peppermint Crème Brûlée: Infuse with peppermint extract and top with crushed candy canes.
Unique Ingredient Ideas
- Almond Flour Custard Base
- Want a gluten-free twist? Add a hint of almond flavor to your custard by incorporating almond flour.
- Learn more about how to work with almond flour in our guide on Baking with Almond Flour.
- Exotic Sugars for Caramelization
- Swap traditional granulated sugar for turbinado or demerara sugar for a heartier crunch.
- For a tropical spin, try coconut sugar to add a rich, caramel-like flavor to the crust.
- Savory Crème Brûlée (Yes, It’s a Thing!)
- Swap the sweet for savory by creating a Crab Crème Brûlée — a gourmet appetizer option.
- Interested? Check out the Crab Brûlée Recipe to explore this creative option.
Crème Brûlée vs. Custard – What’s the Difference?
Many people wonder if crème brûlée is just another type of custard. While they share similar ingredients, the key difference is the caramelized sugar crust on top of crème brûlée, which classic custard does not have. If you’re curious to learn more about this distinction, visit our guide on the Difference Between Crème Brûlée and Custard.
Pro Chef Tips for Taking Secret Crème Brûlée to the Next Level
- Master the Crust
- Use superfine sugar for a smoother, glassy crust.
- Caramelize it using a kitchen blowtorch for the best results, but if you don’t have one, use an oven broiler.
- Chill it Right
- Always let your custard chill for at least 4 hours (or overnight) before adding the sugar crust. This ensures a firm texture.
- Flawless Texture Every Time
- Strain the custard before baking to remove any lumps or egg bits.
- Bake with a water bath (bain-marie) to ensure even cooking and a smooth, silky texture.
- No Torch? No Problem!
Conclusion
Mastering the art of crème brûlée may seem challenging, but with the right techniques and a bit of patience, anyone can create this iconic dessert at home. The key “secrets” lie in using fresh, high-quality ingredients, baking the custard gently in a water bath, and achieving that perfect caramelized sugar crust just before serving. With these tips in mind, you can avoid common mistakes like cracked custard, grainy texture, or a soggy sugar top.
The beauty of crème brûlée is its versatility. While the classic vanilla version is timeless, don’t be afraid to experiment with flavors like chocolate, coffee, lavender, or citrus. Small changes to the custard base or the garnishes can completely transform the experience.
If you’re feeling adventurous, try out different flavor variations or challenge yourself to achieve a smoother, silkier custard each time. Your perfect crème brûlée is just a few steps away. Bon appétit!
Now that you know the secret to crème brûlée, it’s time to put your skills to the test and impress your guests with a restaurant-quality dessert.
